BYOD has become am almost essential part of my job, working across multiple time zones would be a nightmare without it. With the introduction of Android L it just got a whole lot easier!
Before Android L you were stuck with a single user account and if you added a business ActiveSync email account to your device your entire device was bound by the ActiveSync security policy, and for me that meant an 8 digit pin to get into my device and authority to remove wipe the entire device. This was unacceptable as it made quickly and easily using the device for personal reasons that much more difficult.
So to bypass this problem I used Divide, it essentially allowed for a business partition within my device. As a result it allowed for differing levels of security between business and personal data, all encrypted and if a remote wipe was requested it would only wipe the business data… Brilliant. The only problem with this is it was yet another app and on my aging Nexus 4 I found this could result in a bit a slowdown.
Along comes Android L with multi-user support and this problem is solved. What’s more being a web developer I’ve got a fair bit of data floating around in the Google ecosystem such as Analytics, I now have access to that without polluting my personal space. The only caveat to all of this is not having notifications between accounts, but if you can live with that you’re all good!
1. Register with Google
If you haven’t already make sure you register your work email account with Google, you can do so here. Doing so will simply provide you with a work Google account to separate your data, it won’t give Google access to any of your work data.
Make sure to use a suitably strong password and turn on two factor authentication if you can, although Google wont hold any of your business data such as emails or calendar entries you still don’t want to make it easy for hackers.
2. Add a new user to your device

3. Sign in
Make sure to sign in with the business Google account details you registered earlier.
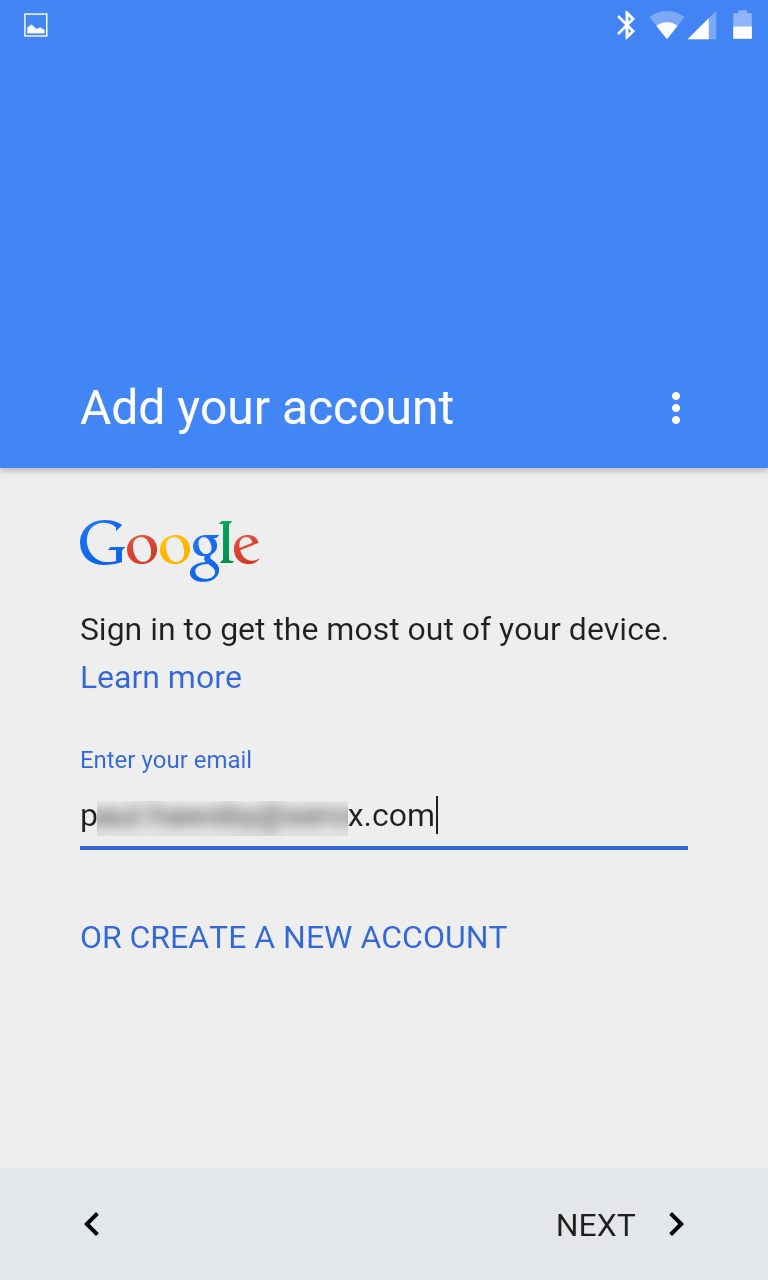
Unless you plan to buy stuff on your personal account just ignore the payment info…
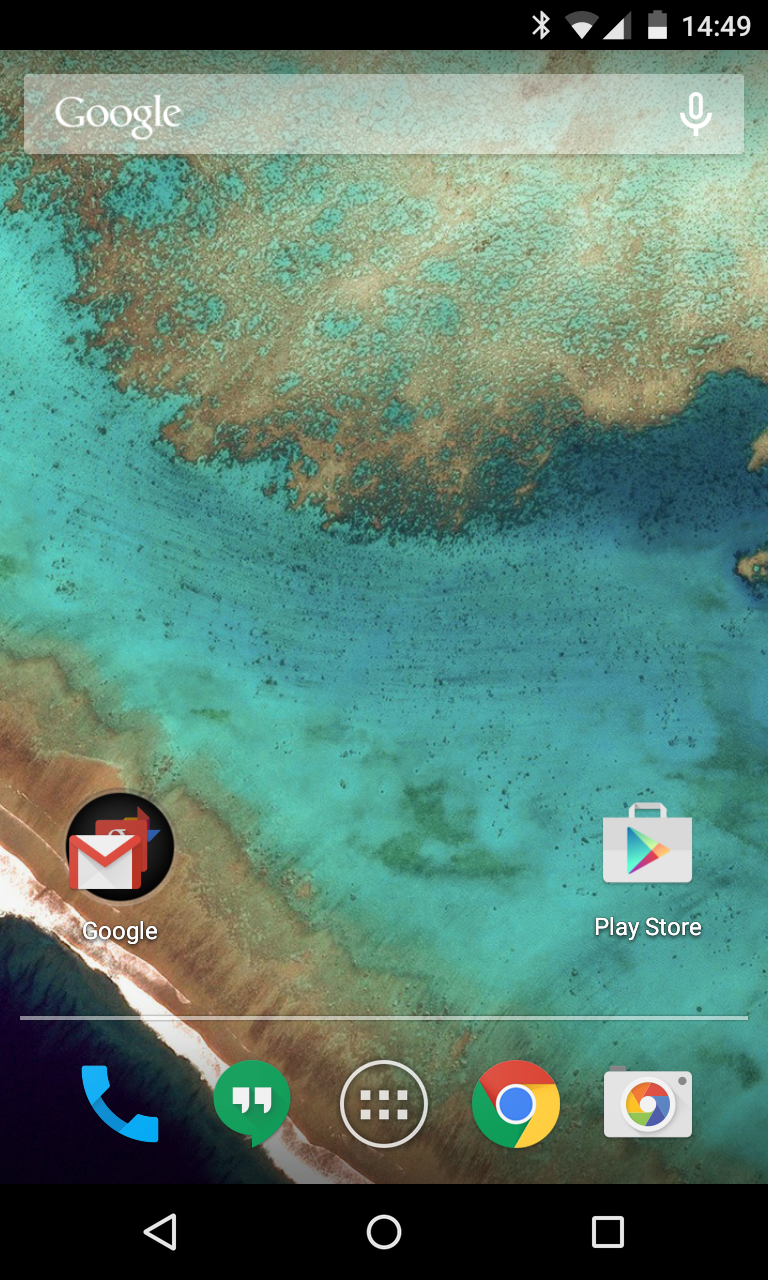
4. Account all set
At this point your account is all set, and if you use chrome on your desktop machine then you can login with this account to have synchronised history, tabs, etc. Obviously this can also include password synchronisation too so I must reiterate, make sure you business Google account is as secure as it can be!
5. Email, contacts and calendar synchronising
The new Gmail app now supports non-gmail accounts including Exchange ActiveSync, as that’s what my employer uses I’ll be setting that up but the process is roughly the same for IMAP and POP.
Fire up the Gmail app and pick the account type you wish to add.

Simply entering your work email address is generally not enough information for exchange accounts so you’ll need to hit manual setup after entering it.

I don’t know why but hit Exchange again…

You’ll need to speak to speak to your network administrators or find the documentation on your intranet to find your Exchange settings.

Here we go…

The ActiveSync security policy will take administrative control of the account but not your personal account
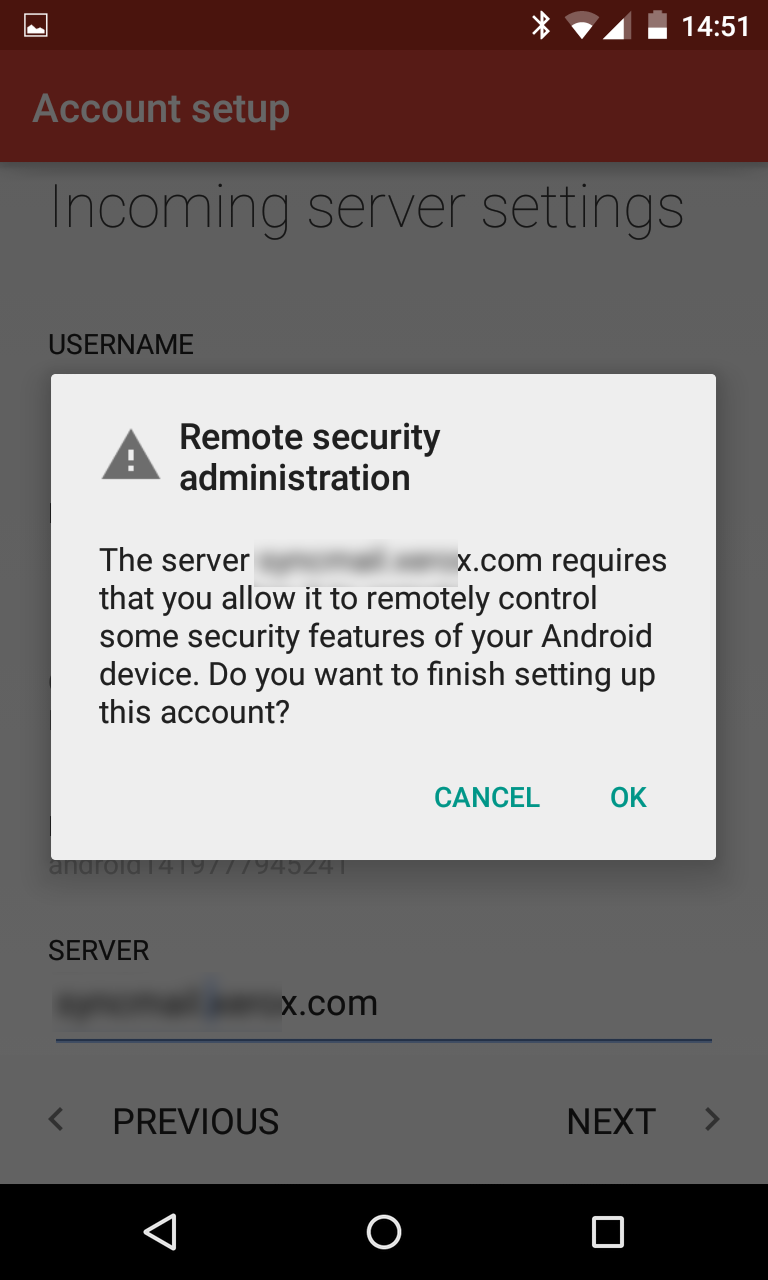
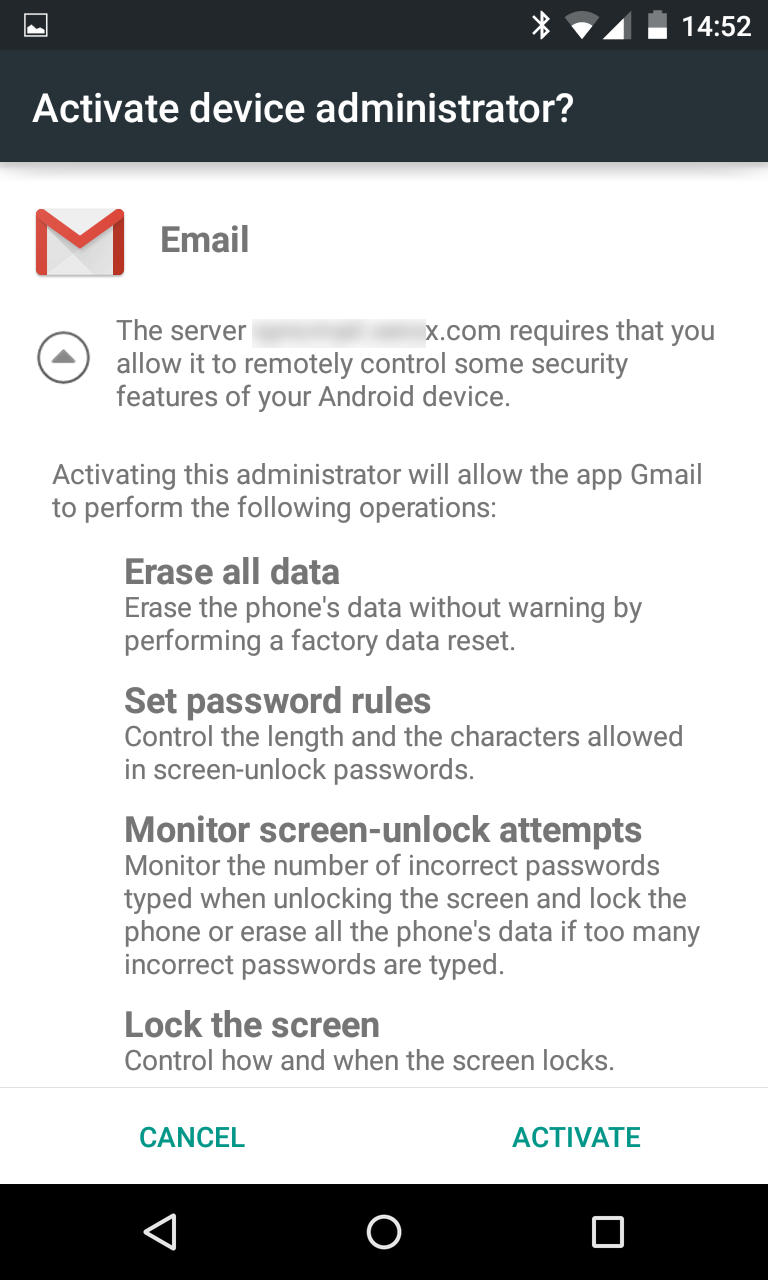
The blanked out options are only blanked out for this account on the device, you can happily use pattern unlock on your personal account.

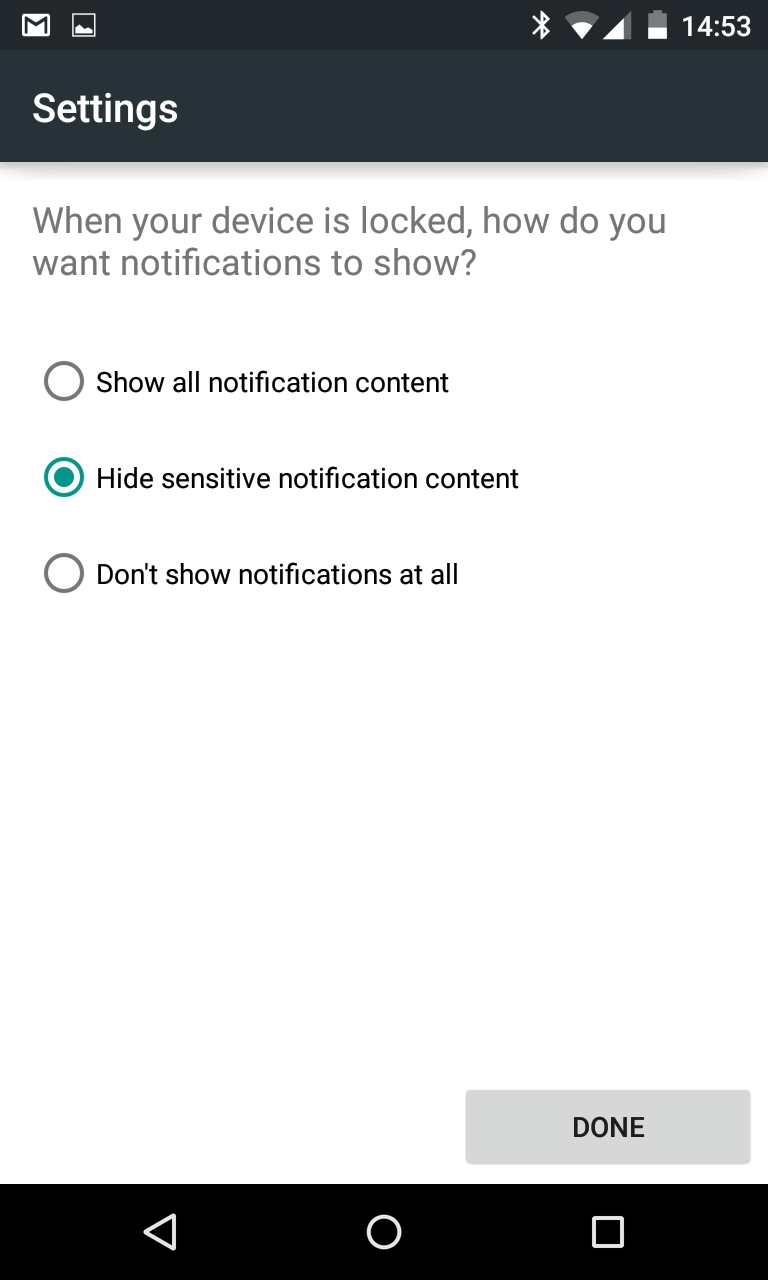
And finally, considering this is a business account you probably want to hide sensitive notification content. If someone were to get hold of your device it’s unlikely the little snippets wouldn’t reveal much, but it’s better to be safe.
6. Name your account
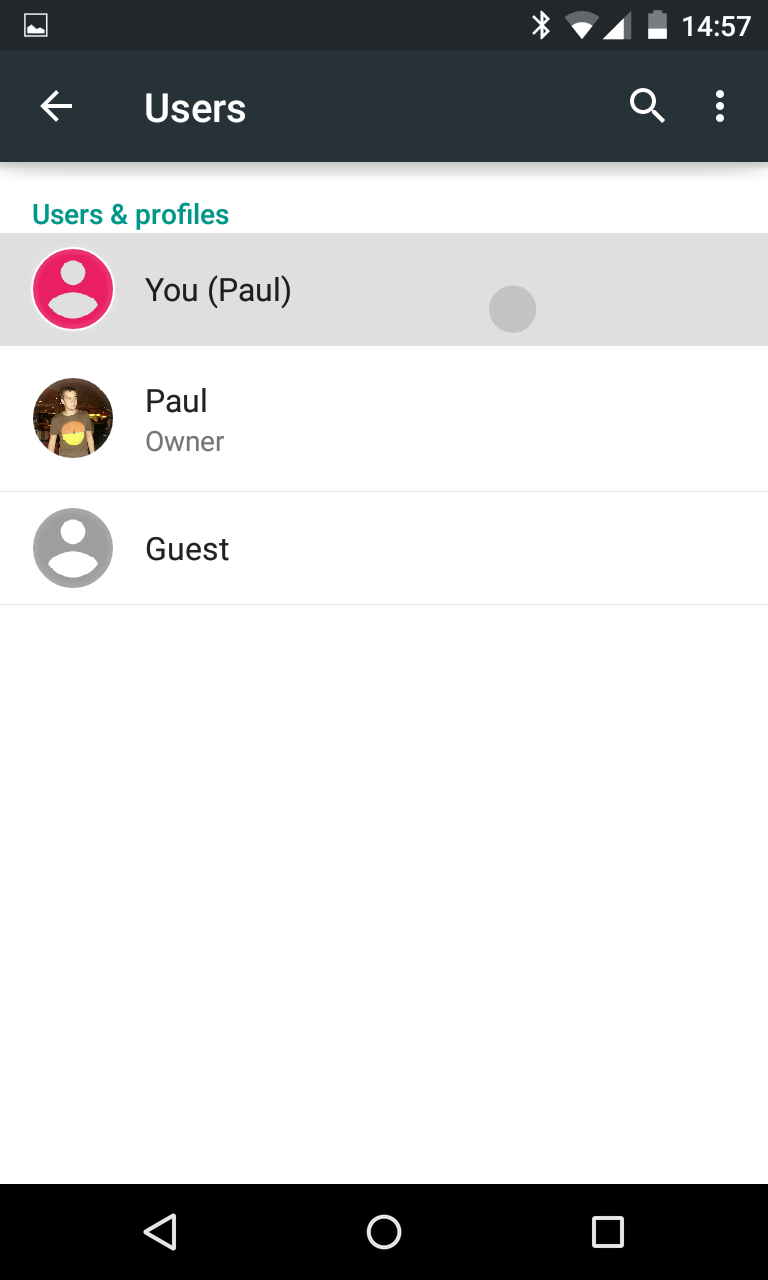
This is totally optional but when viewing the accounts you will likely have two with the same name, not a major problem but you can change it.

In Settings->Users you will have a list of users on the device, hit the current one
And stick a “(work)” on the end or some other way to differentiate the accounts.
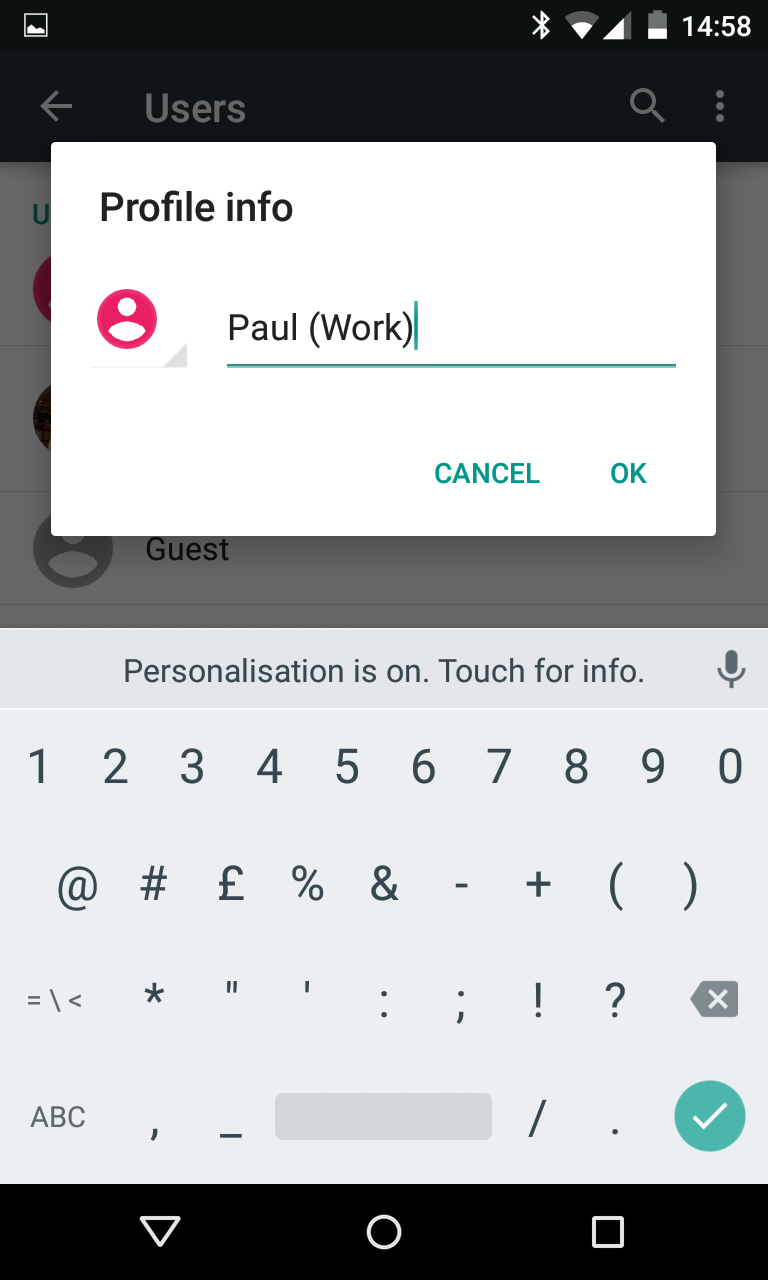
Much better.

And that’s it
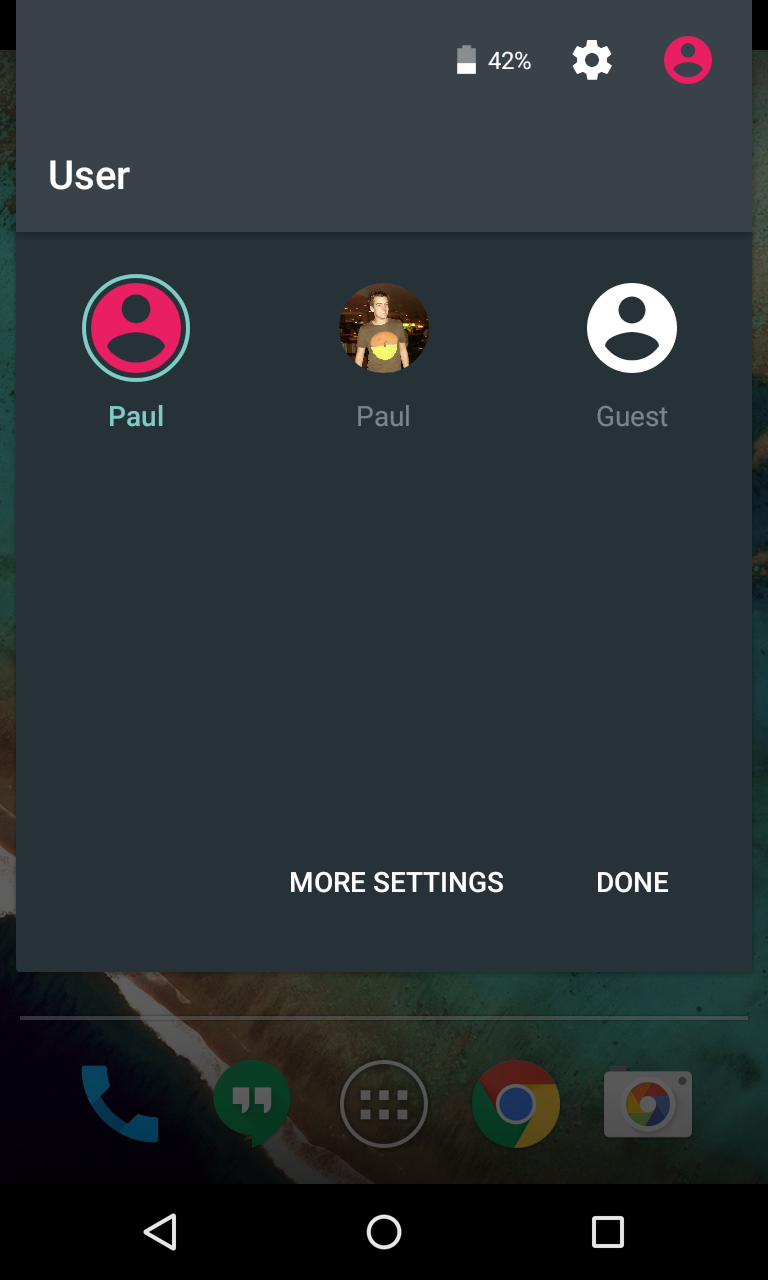
You’ve now got two totally separate accounts on your device allowing you to properly separate your business and personal data.